Taper Designs: 12 Best Lines, Parts & Patterns Worth Trying (2026)
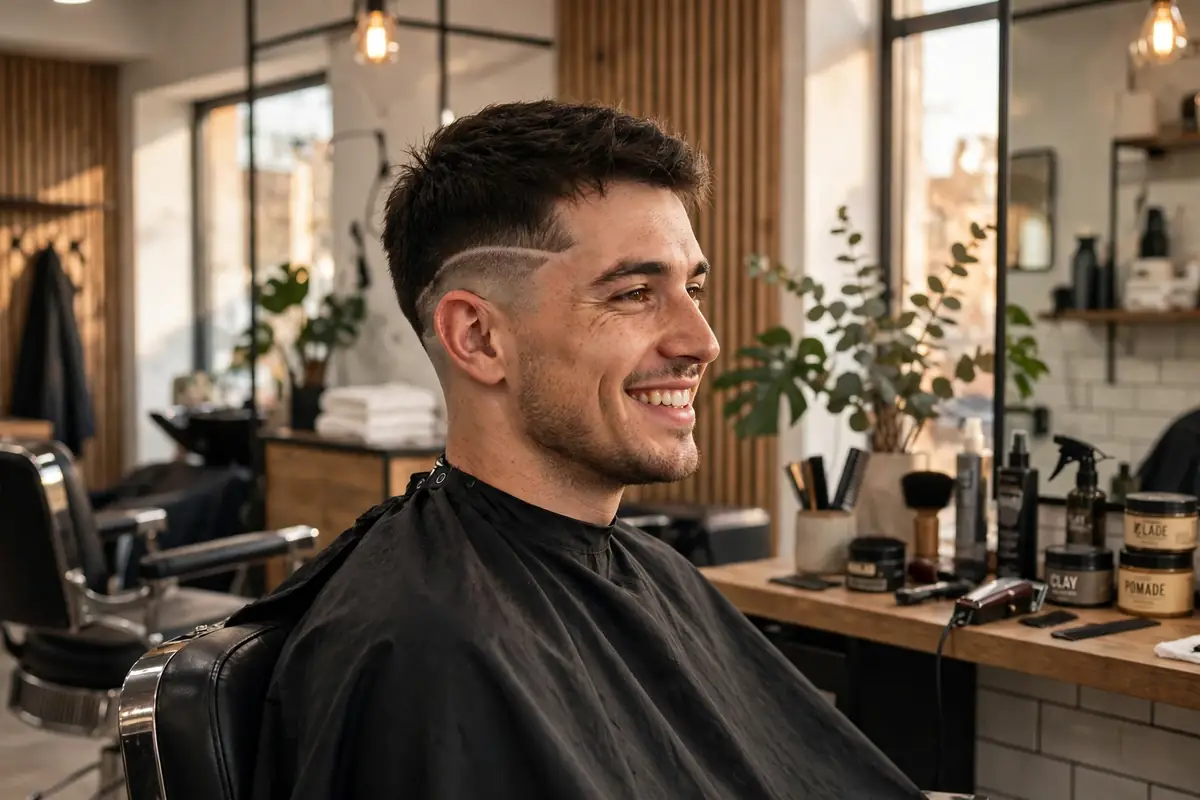
A taper design is a line, part, or pattern your barber shaves into the faded area of a taper — usually above the ear, at the nape, or along the hairline. The safest first design is a single hard line; the boldest is freestyle work. Designs add about $10–$30 to your cut, take 5–15 extra minutes, and stay sharp for roughly 5–10 days before the grow-out softens them. A low taper pairs best with small, hidden designs (short line, nape V) that stay office-safe.
A taper fade on its own is clean. A taper fade with a design is yours. That one shaved line above the ear, the small V at the nape, the curve that follows your head — those details are what people notice in photos and what makes a standard cut look deliberate instead of default.
The good news: you don’t need a wild pattern to get the effect. Most taper designs are small, cheap to add, and easy to drop at your next cut if you change your mind — the hair grows back over them in a week or two. This guide walks through the 12 designs worth asking for, which ones suit your hair and your job, the exact words to say in the chair, and what designs honestly cost and how long they last. If you’re still choosing between the cut itself, start with our fade vs taper comparison first — the design sits on top of that decision.
🎨 What Is a Taper Design, Exactly?
A taper design (also called a hair design, line design, or hair tattoo) is artwork shaved into the short part of your haircut with a detail trimmer or razor. Your barber cuts a clean line or shape down to the skin — or close to it — so the design reads as a bright line against the slightly longer faded hair around it.
Three things make a design work on a taper specifically:
- The fade is the canvas. A design needs contrast. The smooth gradient of a taper gives the line something to sit on — too long and the design disappears, too short (a full skin fade) and it can look harsh.
- Placement is everything. The classic spots are above the ear and temple, along the natural part line, and at the nape. Each spot changes how visible — and how professional — the design looks.
- It’s temporary on purpose. Unlike the cut itself, a design is at its sharpest for about a week. That’s a feature: you can try a bold one for an event and let it fade back to a clean taper.
Designs and line-ups are cousins, not twins. A line-up (shape-up) sharpens your natural hairline into straight edges. A design adds something that wasn’t there — a line, curve, or shape inside the cut. Most designed tapers combine both.
✂️ The 12 Taper Fade Designs Worth Trying
Ordered from the most office-safe to the boldest. Every design below works on a low, mid, or high taper — what changes is how much of it shows.
1. The Single Hard Line
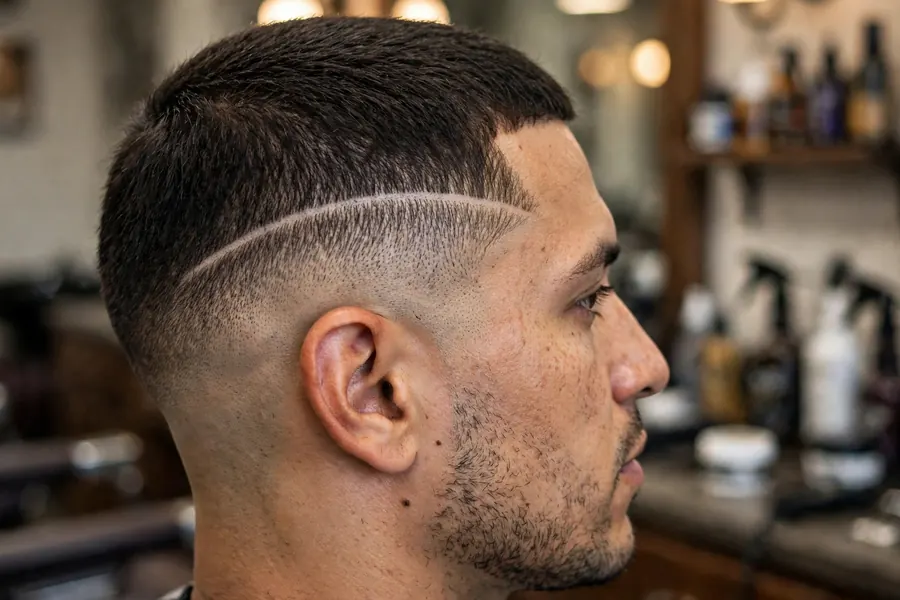
The gateway design. One straight or slightly curved line shaved where your natural part sits, usually extended a little toward the temple. It sharpens the whole cut, takes your barber two minutes, and reads as tidy rather than rebellious — most workplaces won’t even register it as a “design.” If you’ve never had one, start here.
2. Double Parallel Lines
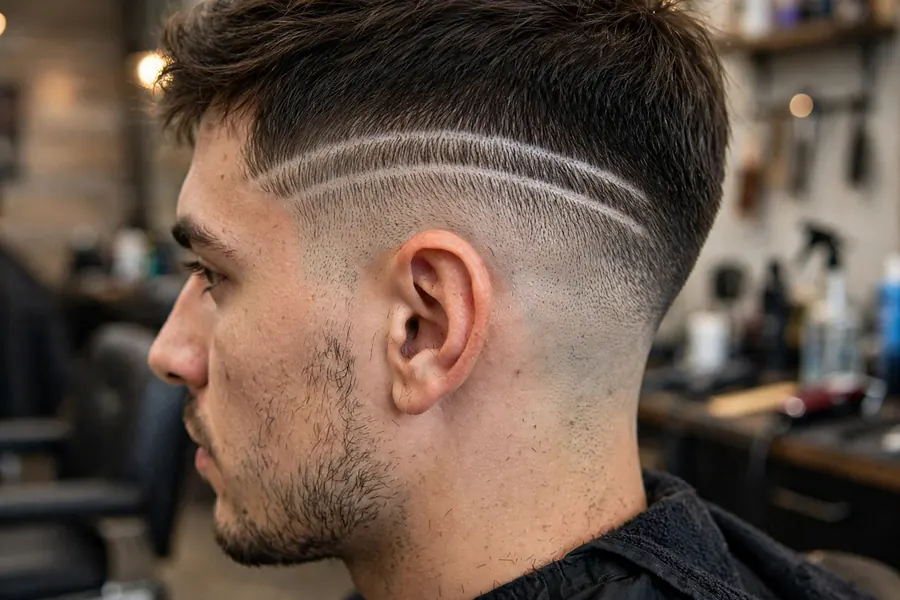
Two thin lines running side by side, either along the part or sweeping over the ear. The trick is the gap: it has to stay the same width from front to back, which is why this one separates good barbers from average ones. Slightly bolder than a single line, still far from loud.
3. The Curved Slash
A single line that curves with the shape of your head instead of running straight — it starts near the temple and arcs down toward the back. The curve follows your head’s natural lines, so it looks almost architectural. A great pick if straight lines feel too severe on a rounder face.
4. The V-Shape at the Back
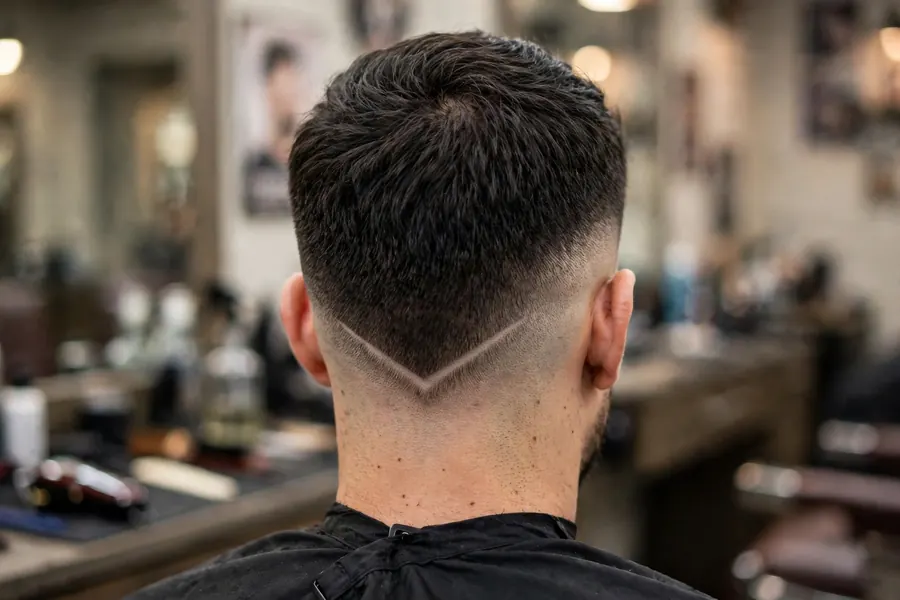
Instead of a straight or rounded neckline, the nape is shaped into a pointed V, sometimes with a short line dropping from the point. It’s the most popular “hidden” design — nobody sees it face-to-face, but it gives the back of the cut a finished, deliberate look. Works on every taper height.
5. The Drop Line
A hard line that starts at the part and drops — it angles downward behind the ear instead of continuing level. The drop creates a disconnected feel between the top and the back of the cut. Modern, clean, and it photographs extremely well from the side.
6. The Surgical Part (Razor Part)
Your natural part, widened and deepened with a razor so it reads as a bold, permanent-looking stripe. It suits straighter hair and classic top styles — side parts, comb-overs, slick backs. The part grows out softer than a line design, so it ages the most gracefully of anything on this list.
7. The Small Star or Cross
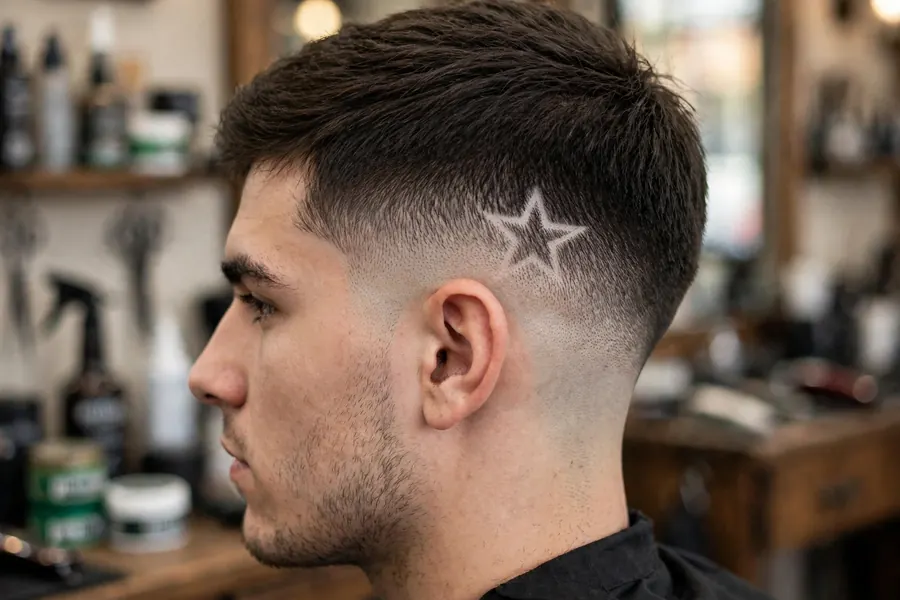
A tiny motif — star, cross, lightning bolt, initial — placed just above the ear or at the temple. Small is the key word: at thumbnail size it reads as a detail; any bigger and it owns the whole haircut. Kids and teens love this one, and it’s the fastest design to grow out if opinions change.
8. Freestyle Waves and Swirls
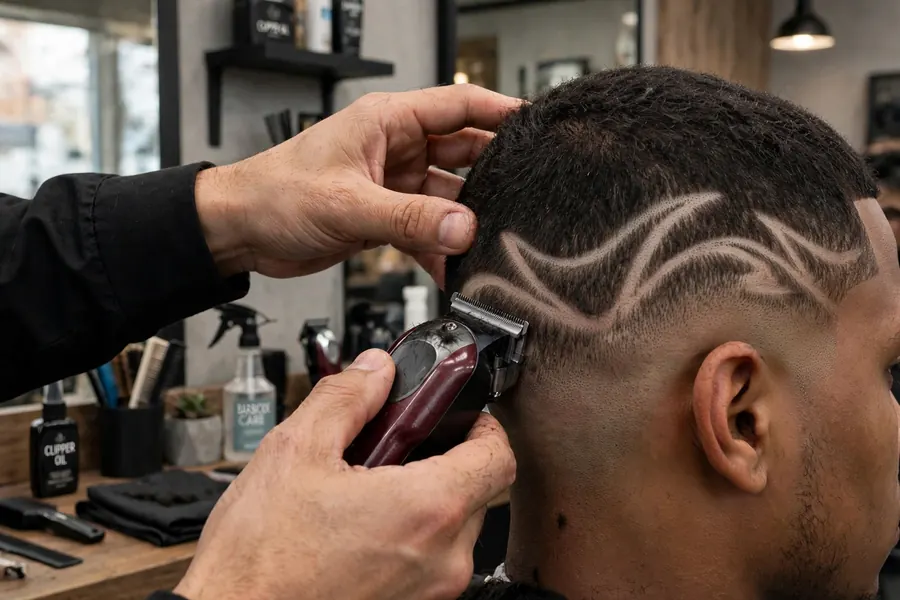
Flowing, hand-drawn curves that wrap around the side or back of the head. This is where a skilled barber shows off — no stencil, no template. Because it’s freehand, always agree on the rough idea and size before the trimmer touches your head, and expect to pay the top of the design price range for it.
9. Geometric Steps
Short horizontal lines stacked like steps, or a small staircase pattern stepping down the side. Geometric designs suit straight hair best, because the fade underneath is at its smoothest and the steps read crisply. Keep the count low — two or three steps, not ten.
10. The Zigzag
A single lightning-style zigzag running from the temple toward the back. Bolder than a curve, tamer than freestyle. It pairs well with textured tops and is a common first “statement” design for guys who’ve outgrown the plain hard line.
11. The Hairline Corner Design
Small squared or angled cuts worked into the front hairline corners, extending the line-up into actual design territory. Subtle from a distance, sharp up close. This one lives or dies on your natural hairline — if your corners are already receding, skip it and take a side design instead.
12. Low Taper Designs: The Subtle Set
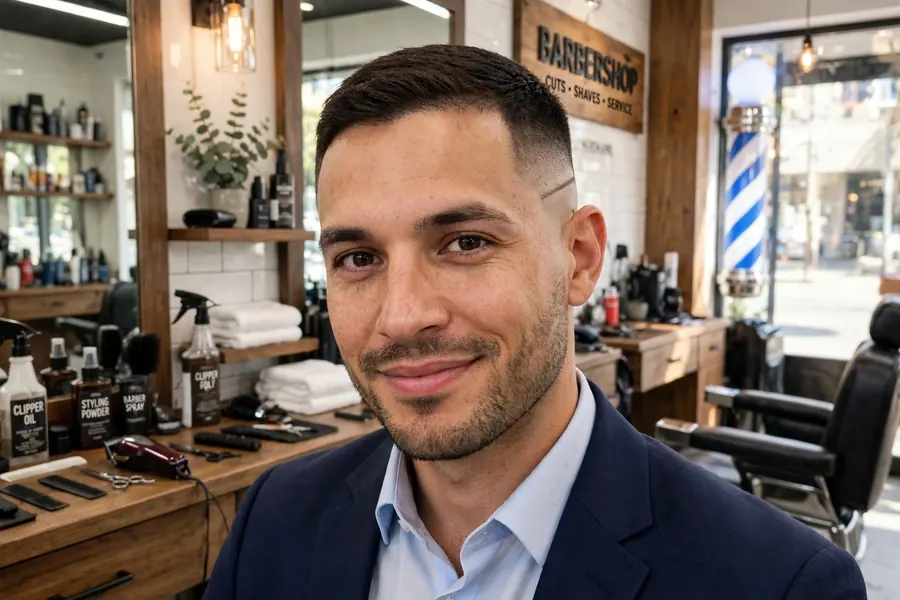
Searching “low taper designs” usually means one thing: a design that won’t cause trouble at work. The three that deliver are a short line (just 1–2 inches above the ear, not a full part), the nape V from #4, and a single curve that hugs the ear. On a low taper the faded area is small, so small designs aren’t a compromise — they’re proportional. For more low taper styles, see how the cut itself compares in our low taper fade vs mid taper fade guide.
🧭 Which Design Fits Your Hair, Face and Job?
Pick by constraint, not by photo. The design that looks best on someone else’s head shape, hair type, and dress code can be wrong on yours.
| Design | Boldness | Office-safe? | Best hair type | Stays sharp |
|---|---|---|---|---|
| Single hard line | Low | Yes | All types | 7–10 days |
| Surgical part | Low | Yes | Straight / wavy | 10–14 days |
| Nape V | Low | Yes (hidden) | All types | 7–10 days |
| Double lines | Medium | Usually | Straight / wavy | 5–8 days |
| Curved slash / drop line | Medium | Usually | All types | 5–8 days |
| Small star / motif | Medium | Depends | All types | 5–7 days |
| Zigzag / geometric steps | High | Rarely | Straight | 5–7 days |
| Freestyle waves | High | No | Curly / coily | 5–7 days |
Curly hair note: curls spring up and blur fine detail faster, so designs on curly tapers should be cut slightly wider than they look in straight-hair photos — a hairline-thin design can vanish into the curl pattern by day three. Wider lines and freestyle curves hold up best.
Face shape note: straight lines add angles (good for round faces); curves soften (good for square jaws). The nape V lengthens the look of the neck from behind.
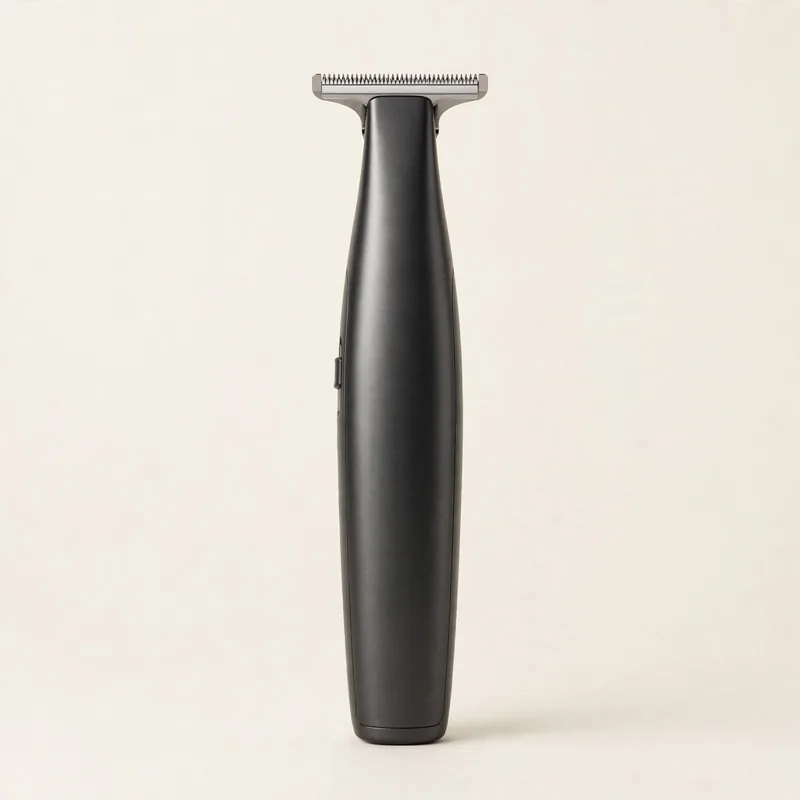
Detail Hair Trimmer
Every design on this page is cut with a slim detail trimmer — its narrow blade is what makes a line razor-clean instead of fuzzy. It’s also the tool barbers use for line-ups and neckline work.
As an Amazon Associate, I earn from qualifying purchases — at no extra cost to you. It keeps the guides free. 🤍
🗣️ How to Ask Your Barber for a Design
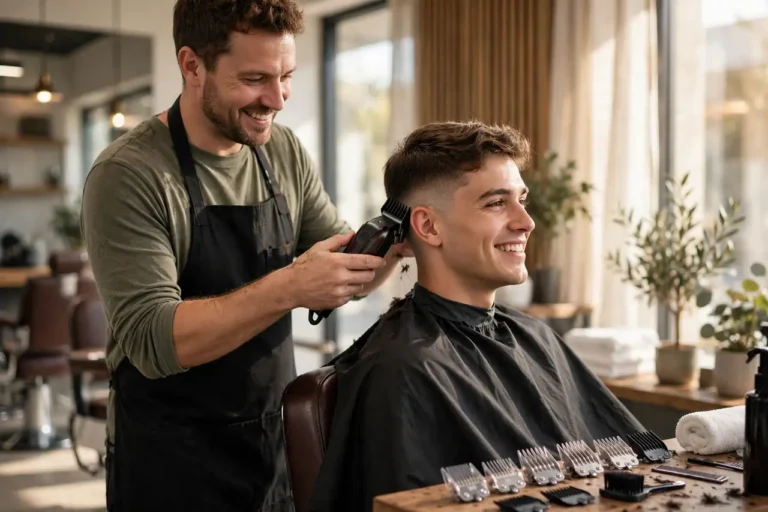
Designs fail in the conversation more often than they fail in the cutting. “A line on the side” can mean five different things. Use these instead:
For the classic first design:
“Mid taper, and add a single hard line on my part side — start it at the temple and run it about two-thirds back. Keep it thin.”
For a hidden design:
“Low taper, nothing on the sides. Just finish the nape in a V instead of straight across.”
For something bolder:
“I want a curved line that drops behind the ear, like this photo. Where would you start it on my head?” — asking “on my head” invites the barber to adjust the design to your head shape, which is exactly what you want.
Three rules that save designs:
- Always show a photo. One screenshot beats a paragraph of description. Save two: the design you want, and one you definitely don’t.
- Agree the size out loud. “Small, above the ear only” before the cut prevents the freestyle that eats your whole side panel.
- Ask about your hairline first. A good barber will talk you out of a corner design on a receding hairline — that honesty is a sign you’ve got the right barber for design work.
⏳ How Long Do Designs Last — and What Do They Cost?
Sharp life: 5–10 days. A design is cut to skin level, so it only stays crisp until the surrounding hair grows enough to match it — about a week for most guys, up to two weeks for a wider surgical part. After that the design doesn’t look bad; it looks soft, like a shadow of itself, until your next cut erases it completely.
Price: usually $10–$30 on top of the cut in the US. A single line sits at the bottom of that range (some barbers include it free with the cut — ask), freestyle work at the top. A design-only touch-up between cuts, just re-cutting the lines, typically runs $5–$15 and takes ten minutes.
Make it last longer: get the design cut at the end of your haircut cycle planning — i.e., design fresh for the week you need it (event, photos, holiday), not the week before. Skip hats and tight beanies for the first day, and don’t scrub the design area hard in the shower; friction doesn’t remove it, but freshly cut skin-level hair is at its most visible when the skin around it isn’t irritated and red.
🏠 Can You Cut a Taper Design at Home?
Honestly: a straight line, yes — with practice, a steady hand, and low expectations for the first attempt. Freestyle, no. Even barbers practice freestyle on mannequins before clients.
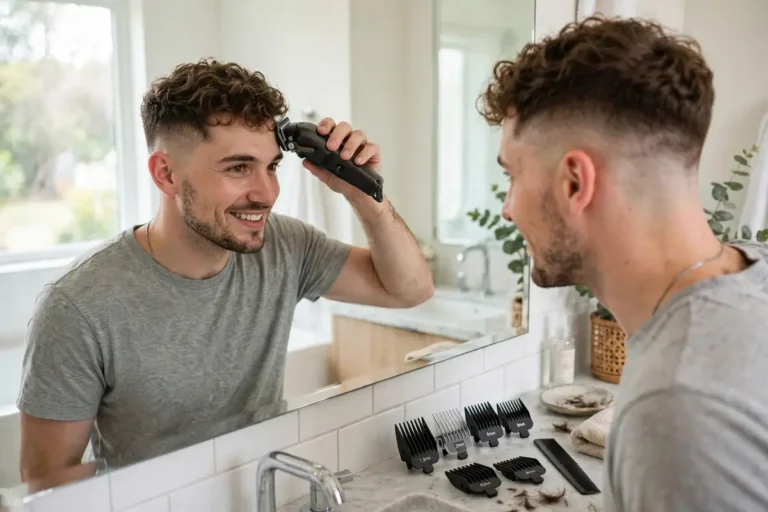
If you’re maintaining a barber-cut design between visits (the smart DIY move), the method is simple:
- Work dry, in bright light, with two mirrors so you can see the side you’re working on.
- Trace, don’t create. Follow the exact line your barber cut, taking it back down to skin. Never widen it — widening is how a thin line becomes a stripe.
- Use the corner of the trimmer blade and pull the skin gently taut with your free hand.
- Stop one pass early. The line always looks lighter while you’re working than it does ten minutes later.
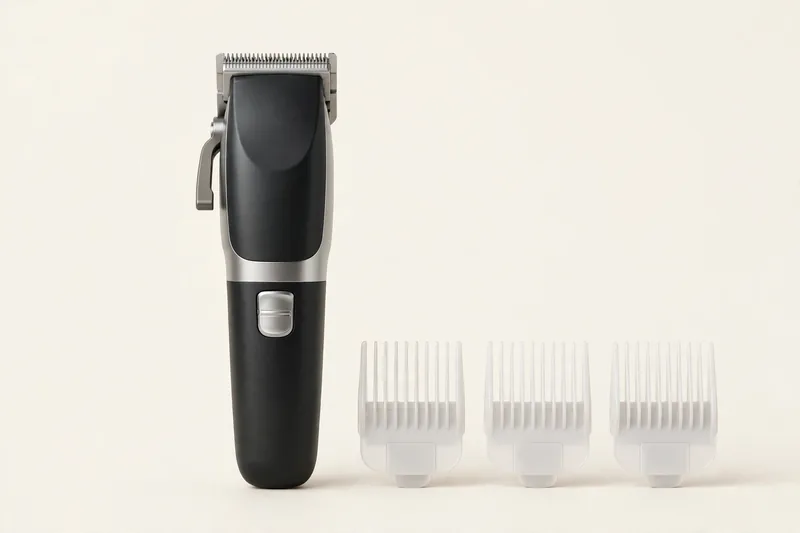
Cordless Hair Clipper with Guards
For holding the taper itself together between visits — cleaning the bottom third and softening the blend. Pair it with the detail trimmer above and your barber visits stretch an extra week.
As an Amazon Associate, I earn from qualifying purchases — at no extra cost to you. It keeps the guides free. 🤍
❓ Frequently Asked Questions
Do taper designs damage your hair?
How much extra does a hair design cost?
What is the best design for a low taper fade?
Do hair designs hurt?
How can I make a taper design last longer?
Can a design be fixed if it goes wrong?
Watch: How to Do a Flawless Taper Design
See a taper design cut step by step, from the rough fade to the finished design. Press play when you are ready; the video does not start on its own.