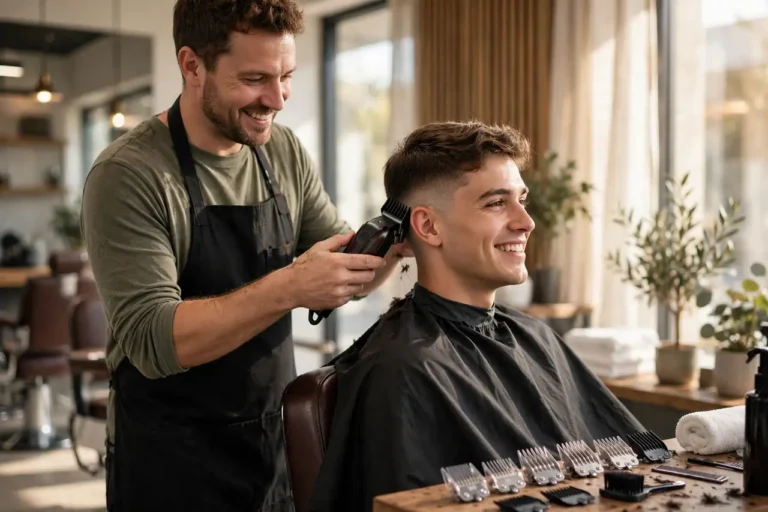
How to Do a Fade Haircut at Home: A Beginner’s Step-by-Step Guide (2026)
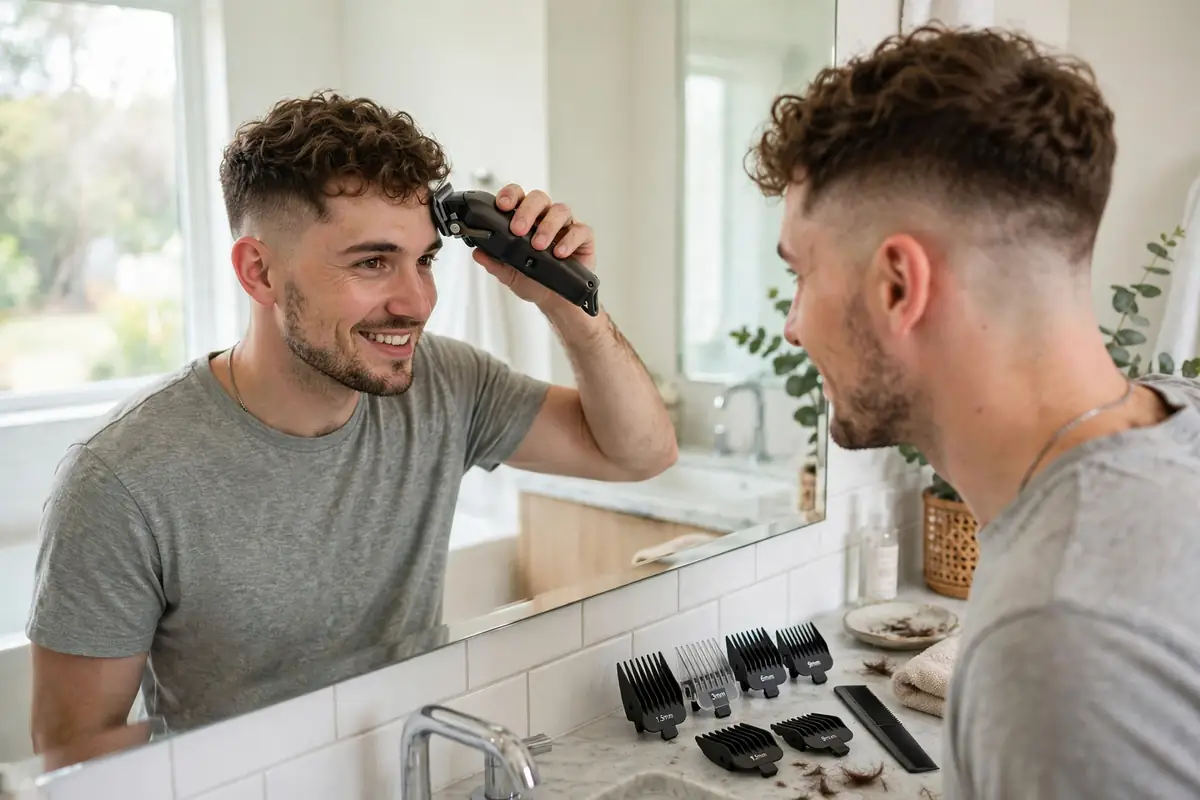
Yes — you can do a fade haircut at home, even on your first try, if you respect the order. You need one good clipper with a taper lever and a full guard set. The method never changes: cut the longest section first, set a guideline with your shortest setting, then work upward one guard size at a time, erasing each line with the lever and short flicks. Budget 45–60 minutes, expect about 80% of barber quality, and start with a mid fade — its guideline sits where blending mistakes hide easiest.
Barbers make a fade look like a two-minute job. It isn’t — but the gap between their fade and yours is mostly method, not talent. This guide shows you how to do a fade haircut at home, using the exact sequence barbers use: guideline first, then guard by guard upward, blending as you go.
The money math helps too. A barber fade costs $25–$40 and needs redoing every two to three weeks — that’s roughly $450–$800 a year. One decent clipper pays for itself in two or three home cuts. And if you haven’t settled the style yet, our fade vs taper comparison breaks down which one suits your head shape and routine.
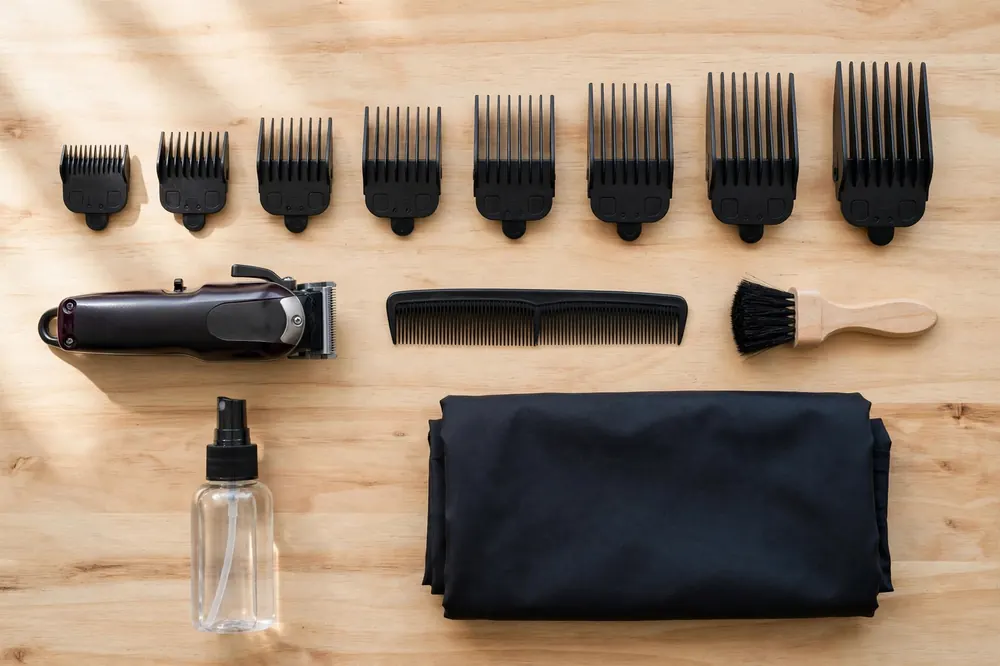
🧰 Tools You Need Before You Start
A fade is 90% clipper work, so the shopping list is short. What matters isn’t many tools — it’s the right two.
- A clipper with a taper lever and a full guard set (at least #0.5 through #4). The lever is not a luxury: its half-sizes are what make blending possible.
- A detail trimmer for the hairline, ears, and neckline. A clipper alone leaves them fuzzy.
- A comb and a spray bottle — you’ll cut dry (reason in the mistakes section); the spray tames cowlicks.
- A cape or an old towel — loose hair on your shoulders ruins every “finished” photo.
- Two mirrors — the bathroom mirror plus a handheld one. The back of your head is where home fades go wrong, and you can’t fix what you can’t see.
- A soft brush to clear loose hair off your neck and out of the blade between passes.
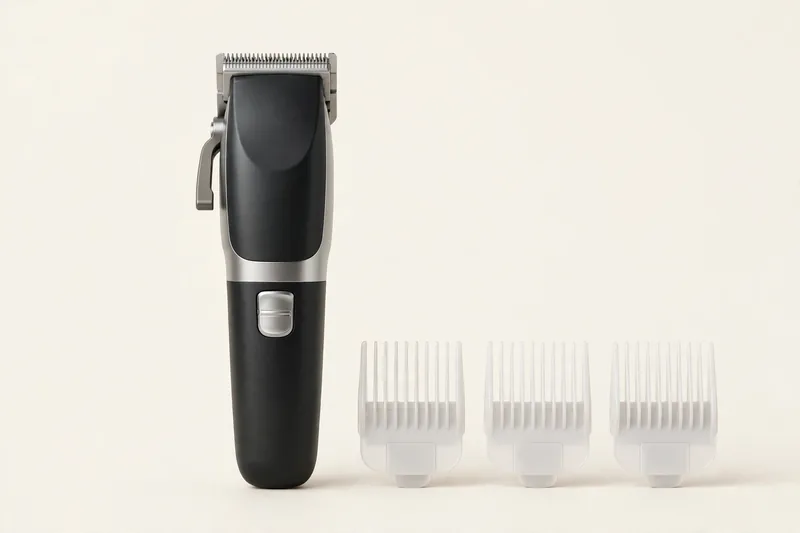
Cordless Hair Clipper with Guards
Two features make or break a home fade: a taper lever (your half-sizes for blending) and a complete guard set, #0.5 to #4. With both, this guide becomes a routine that pays for itself in two or three cuts.
As an Amazon Associate, I earn from qualifying purchases — at no extra cost to you. It keeps the guides free. 🤍
Skip the scissors for now, unless your top is longer than about three inches — scissor work is a separate skill. Total one-time cost of a solid starter kit: roughly two barber visits.
🔢 The Guard Numbers You’ll Use
Guards are lengths, not styles — each number leaves a set length of hair, and a fade is those lengths stacked so smoothly that no step shows. For a standard mid fade you’ll use these settings, in this order:
| Guard / Lever | Length left | Its job in the fade |
|---|---|---|
| No guard, lever closed | ~0.5 mm | The baseline — everything below your guideline |
| No guard, lever open | ~1.5 mm | The eraser — softens the guideline itself |
| #0.5 guard | ~1.5–2 mm | Bridges the step between skin and the #1 |
| #1 | 3 mm | The first band above the guideline |
| #1.5 | 4.5 mm | The middle blend — where most of the gradient lives |
| #2 | 6 mm | The upper blend, above the #1.5 |
| #3 | 10 mm | Upper sides — connects the fade toward the top |
| #4 (optional) | 13 mm | Longer upper sides on low fades and short tops |
One rule runs this guide: lever open cuts about half a size longer; lever closed cuts the guard’s true number. Between any two guards there is always a setting in between — and that setting is the one that erases lines.
✂️ How to Do a Fade Haircut: Step by Step
Work in order, on dry hair, and don’t skip ahead — every step sets up the next; the fade is built from the bottom up.
Step 0: Prep — the 10 minutes that save the cut
Wash and fully dry your hair first — wet hair dries shorter than it looks, which is how home fades end up a size too short. Cape on, guards in size order, light bright and even with no shadow on one side. Then decide your fade height and commit. For a first fade, mid is the forgiving choice — guideline around the top of the ear, with room above and below to blend.
Step 1: Set the first guideline
With no guard and the lever closed, draw one level line all the way around your head at your chosen height. Keep the clipper flat, move slowly, and use the handheld mirror for the back — the line must join up evenly behind you, or the whole fade slopes.
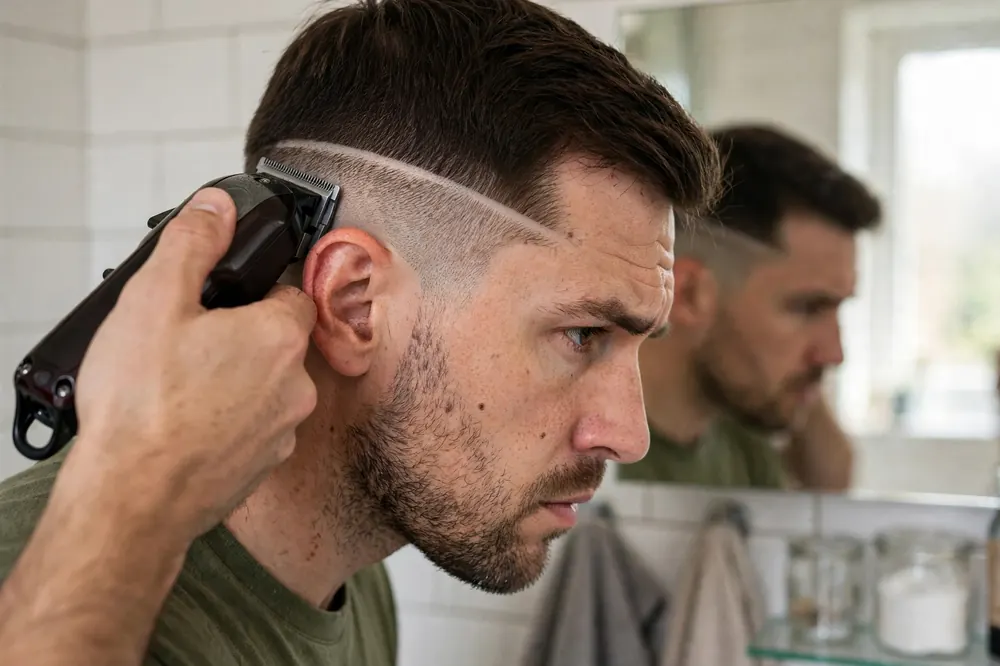
Don’t panic at how this looks — a sharp line mid-fade is scaffolding, not a mistake. Every barber’s fade looks exactly like this at the ten-minute mark.
Step 2: Clear everything below the line
Still with no guard, cut everything below the guideline — first with the lever open, then closed for the closest finish. Work upward into the line but never above it. This cleared zone is the floor of your fade — the shortest hair in the cut, and the base every other length stacks on.
Step 3: Build the #1 band
Clip on the #1 guard, lever open. Cut a band roughly an inch tall directly above the guideline. As you reach the top of the band, roll the clipper away from your head in a scooping motion — barbers call it flicking out. That roll gives the band a soft top edge instead of a second hard line.
Step 4: Erase the guideline
This is the step beginners rush — and the one that decides everything. Go back to the guideline itself with the lever halfway (or the #0.5 guard) and work only on the line, using short upward flicks a centimeter at a time. Use just the corner of the blade on stubborn spots.
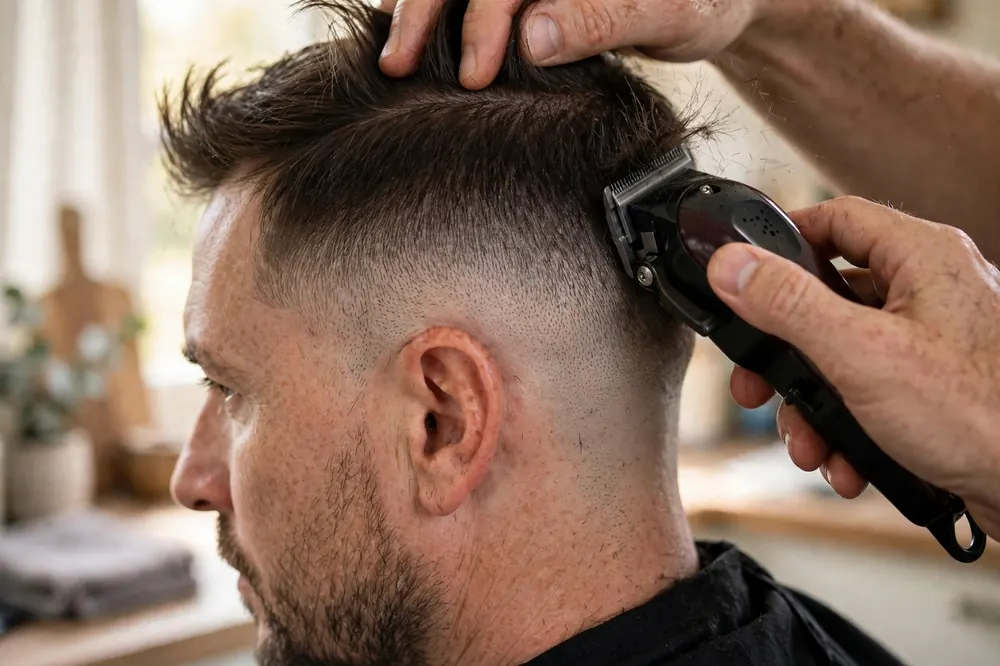
The line softens gradually. Attack it with a shorter setting and you’ll push the guideline higher and start the blend again — so don’t. Patience here is the difference between a fade and a bowl cut with short sides.
Step 5: Work upward — #2, then #3
Repeat the pattern upward. The #2, lever open, builds the next band above the #1 band and erases its top edge; lever halfway polishes between the two. Then the #3 does the same job above the #2. One guard at a time, one band at a time. If a step still shows, the fix is always the setting between the two zones — never a jump.
Step 6: Connect the top
The fade has to meet the top without a shelf. Run your longest guard (#3, or #4 on a lower fade) up the upper sides and flick out early, so the sides melt into the top instead of stopping against it. Leave the top alone on your first cuts. Curly hair needs care here — curls spring back and shrink as they dry, so connect gently and check twice: our guide to the mid taper fade for curly hair shows how the same blend behaves on curls.
Step 7: Detail the edges
Swap to the trimmer. Clean the front hairline, carve around the ears, and tidy the neckline — straight across, or following your natural taper. Pull the skin gently taut and work with the corner of the blade. Edges are about 5% of the hair and 50% of how fresh the cut looks in the mirror.
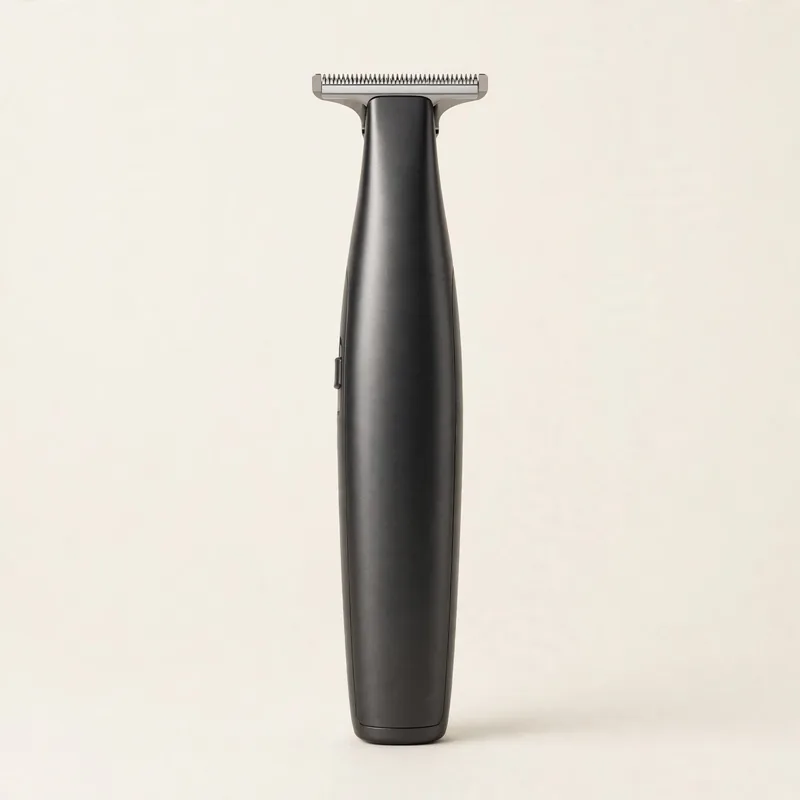
Detail Hair Trimmer
The clipper builds the fade; the trimmer finishes it. Its narrow blade is what makes a hairline crisp, and it doubles as your weekly touch-up tool between full cuts.
As an Amazon Associate, I earn from qualifying purchases — at no extra cost to you. It keeps the guides free. 🤍
Step 8: The two-mirror check — then stop
Brush the loose hair off and inspect: both sides at arm’s length, then the back with the handheld mirror. Dark patches mean hair a touch too long — one pass with the guard above. A visible line means one pass with the in-between setting, right on it. Then stop. The most common way a good home fade gets ruined is ten extra “perfecting” passes that creep it higher and higher.
⚠️ 6 Beginner Mistakes That Ruin a Home Fade
Almost every ruined home fade comes down to one of these six — all about order and patience, not skill.
- Setting the guideline too high. A high guideline leaves no room above it to blend into. Start lower than your instinct says; you can raise a fade, never lower one.
- Skipping guard sizes. Jumping from no guard straight to a #2 leaves a shelf no scrubbing removes. Half-sizes and the lever exist precisely for the steps between.
- Digging instead of flicking. Pressing the clipper flat and pushing straight up carves lines. Roll out of every stroke — the flick is the fade.
- Cutting wet hair. Wet hair dries shorter than it looks — a fade cut wet wakes up a size shorter than planned.
- Guessing the back. The back gets the least mirror time and shows the most mistakes — check it after every step, not just at the end.
- Changing the plan mid-cut. Deciding halfway to go higher, shorter, or “more skin” almost always ends uneven. Pick the fade in Step 0 and cut that fade.
🧹 Cleanup and Keeping Your Clippers Alive
The cut is done; the routine isn’t. Two minutes now decides whether your second fade goes as well as your first.
- Brush the blade out after every cut — packed hair dulls the next one.
- Oil the blades after every use: two or three drops across the teeth, run the clipper five seconds, wipe the excess. Do it and a home clipper lasts years; skip it and it pulls hair within months.
- Store guards in size order, and charge a cordless clipper before putting it away — one dying mid-blend is a special kind of stress.
- Clean up before the shower: shake the cape outside, sweep, then rinse your neck and moisturize the freshly faded skin.
Then book yourself, not the barber: a 10-minute touch-up at the one-week mark — trimmer around the ears and neckline, lever work on any reappearing line — keeps it fresh into week three.
💈 When to See a Barber Instead
DIY is for maintenance. Some cuts — and some weeks — belong in the chair:
- Big-occasion weeks. Weddings, photos, job interviews: don’t debut a new skill when the pictures are forever. Practice on a quiet week.
- True skin fades. Blending down to bare skin with zero margin for error is advanced work. Build up to it over a few home cuts.
- Designs and patterns. Shaved lines and freestyle work are a second skill on top of fading — even barbers practice them on mannequins first.
- A rescue. If a home cut goes badly wrong, a barber can usually even it out inside one shorter cut; guessing your way out at home is how small mistakes become a buzz cut.
- Your first “study” cut. Get one professional fade, watch the guard order your barber uses and the height they set, then copy it at home — the best $30 tutorial in this guide.
Do that — barber for resets and study cuts, home for the weeks between — and your fade stays sharp all year for the price of a couple of shop visits. When you’re ready to move beyond the basic mid fade, our mid taper fade guides cover every height and hair type.
❓ Frequently Asked Questions
Can a beginner really fade their own hair?
What guard do you start a fade with?
How long does a DIY fade take?
Why does my fade have lines in it?
How much money do you save cutting your own fade?
How often should you re-cut a fade at home?
Watch: How to Do a Fade Haircut at Home
Watch the full fade, step by step, before you start cutting. Press play when you are ready; the video does not start on its own.
Watch on YouTube: How To Do a Fade Haircut At Home the EASY Way!