“Mid Taper Fade: Sharp enough to turn heads.”
Mid Taper Fade Buzz Cut — Styles, Clippers & At-Home Guide (2026)
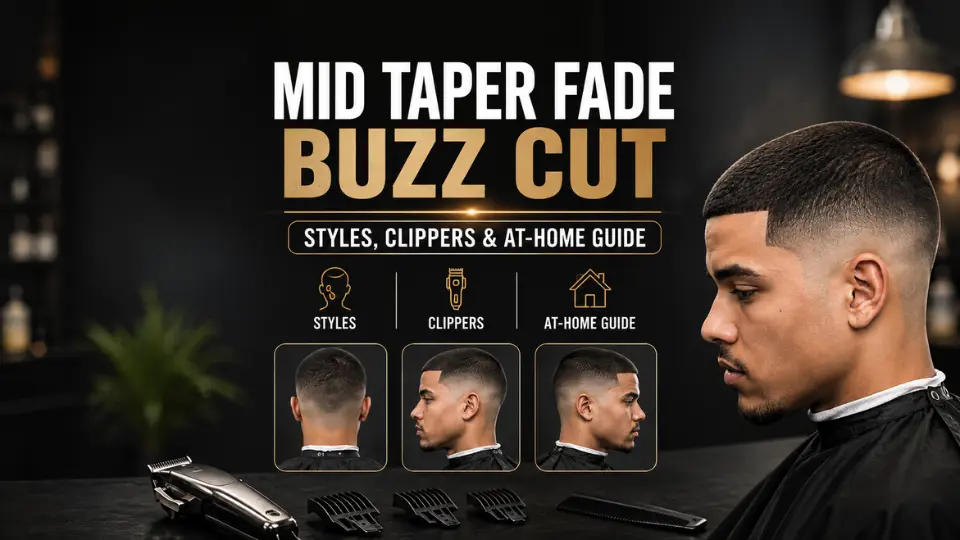
A mid taper fade buzz cut keeps things short everywhere, with a clean blend from mid-height down to skin. It’s one of the easiest styles to maintain, and one of the few most guys can cut at home. This guide covers the best guard combinations, clipper picks, and exactly how to do it yourself — plus when it’s worth paying a barber instead.
What Is a Mid Taper Fade Buzz Cut?
A mid taper fade buzz cut keeps the top short, close to the same length as the sides. The fade starts at mid-height near the temple and blends down to skin. Unlike other mid taper styles, there’s little to no length left on top for styling.
This makes it one of the lowest-maintenance haircuts available. There’s no daily product or blow-drying involved. The fade is what elevates it beyond a basic, all-over buzz.
Why Mid Taper Fade Buzz Cut Is So Popular in 2026
It’s popular because it delivers a barbershop-quality finish with almost no daily effort. There’s no styling routine to think about.
Low-maintenance cuts keep gaining ground in 2026. It also works well for guys cutting their own hair at home.
A buzz cut is one of the easiest styles to self-clip with consistent results. Even a fully DIY cut can look sharp with the right blend.
5 Mid Taper Fade Buzz Cut Variations
Guard length on top is really the only variable here. Small changes make a noticeable difference.
1. Classic Buzz with Mid Taper Fade
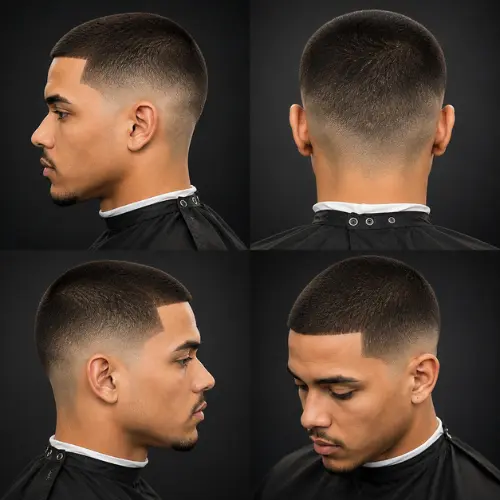
An even guard 2 or 3 on top pairs with the fade underneath. It’s the most straightforward, foolproof version of this cut.
Best For: Any face shape, any hair type
2. Burr Cut with Mid Taper Fade
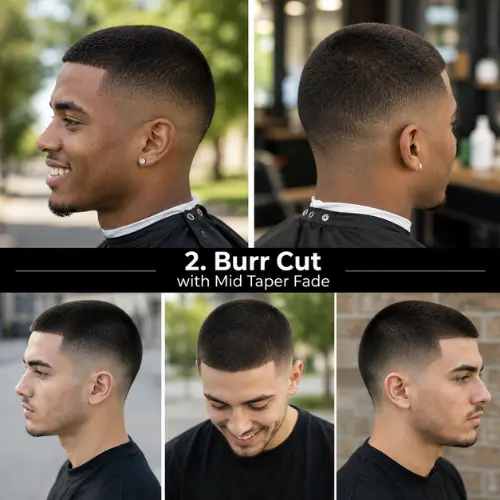
The top goes shorter than a classic buzz, closer to a guard 1. It reads more uniform, with almost no length contrast against the fade.
Best For: Round or oval faces, straight or coily hair
3. Textured Buzz with Mid Taper Fade
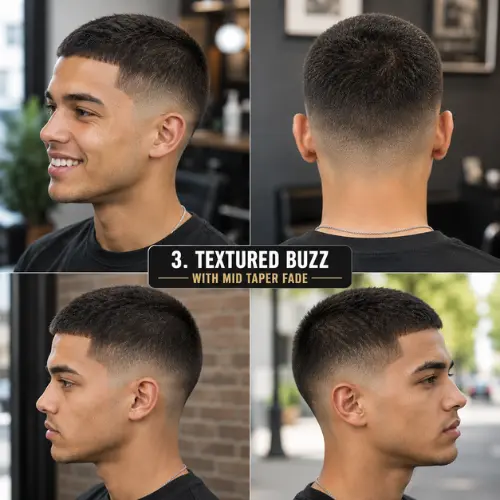
A slightly longer guard on top, around a 3 or 4, leaves just enough length for texture to show. It softens the look compared to a fully uniform buzz.
Best For: Square or oval faces, thick or coarse hair
✂ Pro Tip: Go over the top guard pass in two directions — once with the grain, once against it — for more even coverage.
4. High-and-Tight with Mid Taper Fade
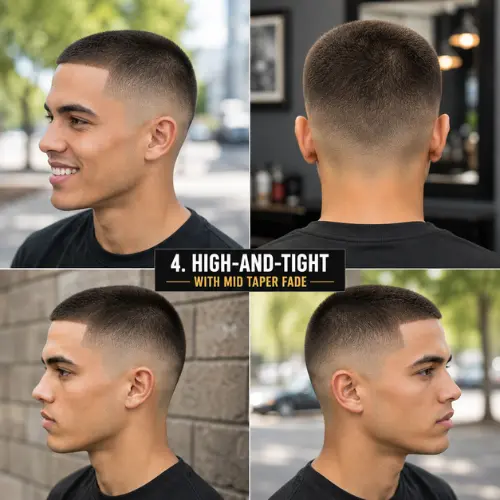
The fade climbs higher than usual, closer to the crown, while the top stays buzzed short. It’s a sharper, more military-inspired take on the classic pairing.
Best For: Oval or long faces, any hair type
5. Skin Buzz with Mid Taper Fade
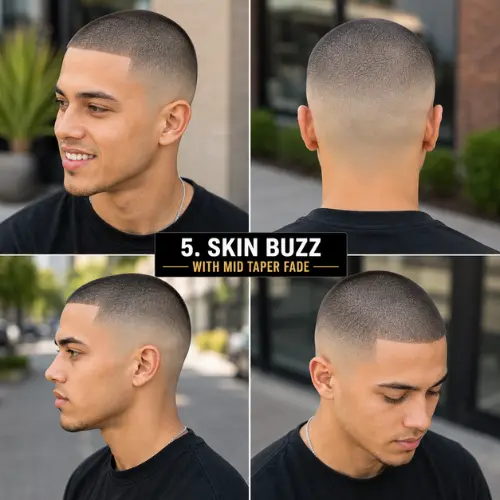
The top gets buzzed down to the shortest guard, nearly matching the fade’s finish near the hairline. This creates the least contrast of any version on this list.
Best For: Any face shape, fine or thinning hair
Guard Numbers & Clippers for a DIY Buzz Cut
The right guard combination and a decent set of clippers are the only two things this cut really depends on. Get those right and the rest is straightforward.
Guard Number Chart for the Top
Guard 1 leaves about 3mm — nearly skin-close. Guard 2 leaves 6mm, guard 3 leaves 10mm, and guard 4 leaves 13mm.
Most classic buzz cuts use a guard 2 or 3 on top. The fade underneath typically drops to a guard 1 or skin near the hairline.
Choosing Clippers for a Buzz Cut
Look for clippers with adjustable guard sizes and a steel blade — plastic blades dull faster and pull hair instead of cutting cleanly. According to barber tool guide BarberSets, steel blades hold their sharpness far longer than plastic, which is worth the extra upfront cost for regular use. Cordless models make it easier to reach the back of your head without a cord getting in the way.
A basic clipper kit with guards 1 through 8 covers this style completely. Higher-end models add finer half-size guards for more control over the blend.
Tools That Make the Blend Easier
A clipper-over-comb technique helps blend the fade into the buzzed top, even without much barbering experience. A handheld mirror or a second mirror behind you makes checking the back and sides possible.
How to Do a Mid Taper Fade Buzz Cut at Hom
Cutting this style yourself comes down to working top to bottom in guard steps, never skipping a size. Rushing is the main thing that causes mistakes.
Step-by-Step DIY Process
Start with the top using your chosen guard, going against the direction of hair growth for even length. Move to the sides next, starting with a guard 3 near mid-height.
Work down in steps — guard 3, then 2, then 1 or skin — blending each pass into the one before it. Finish with a clipper-over-comb pass along the transition line to soften any harsh edges.
Common DIY Mistakes to Avoid
Skipping guard sizes creates a visible line instead of a blend. Always step down gradually rather than jumping straight to skin.
Rushing the back of the head is another common issue. Go slow here, checking with a mirror often, since it’s the hardest area to see directly.
When to See a Professional Instead
First-time buzz cuts are easier to get right than complex tapers, but sharp line-ups around the ears and neckline are harder to DIY cleanly. A professional touch-up every few cuts keeps the shape consistent.
Professional Barber vs DIY — Cost & Time Comparison
DIY costs less over time but takes practice to match a barber’s precision, especially around the edges. Here’s how the two compare directly.
| Barber Visit | DIY at Home | |
|---|---|---|
| Average Cost | $20-40 per visit | One-time clipper cost ($30-80) |
| Time Required | 15-30 minutes | 10-20 minutes |
| Line-Up Precision | Sharper, more consistent | Takes practice to master |
| Best For | Sharp edges, special occasions | Regular touch-ups between cuts |
Is It Worth Cutting a Buzz Cut Yourself ?
For a style this simple, DIY makes financial sense over time — a clipper pays for itself after two or three skipped barber visits. Most guys still get a professional line-up every few cuts to keep edges sharp.
Mid Taper Fade Buzz Cut — Video Guide
Watching a DIY buzz cut fade actually happen makes the guard-stepping technique click faster than any written explanation. This tutorial breaks down the blend from guard 3 down to the skin.
Watch: Mid Taper Fade Buzz Cut Tutorial
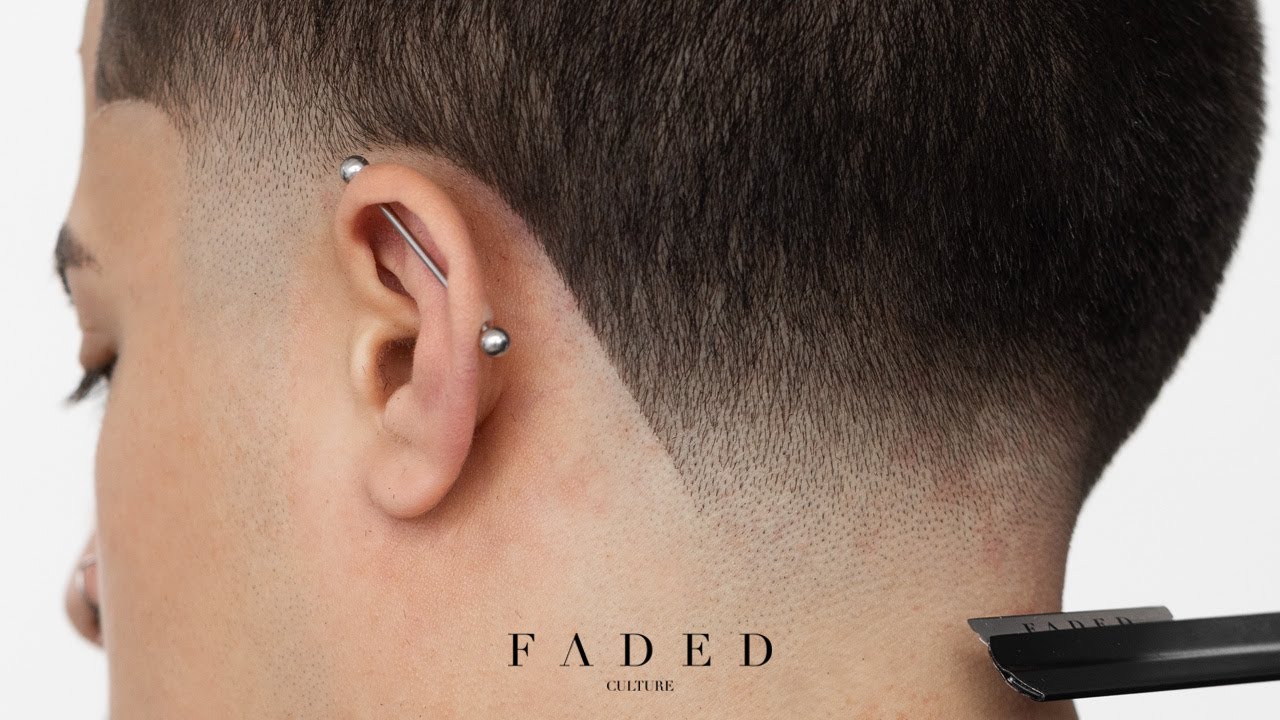
Now that you’ve seen the technique in motion, here’s what can go wrong if you rush it.
Frequently Asked Questions
What Fade Looks Best with a Buzz Cut?
Can You Get a Mid Fade with a Buzz Cut?
Is a Taper or Fade Better for a Buzz Cut?
Is a Mid-Taper Fade a Thing?
How Often Should You Touch Up a Buzz Cut?
What Guard Number Is Best for a Buzz Cut?
About the Author
Sonia is the content writer behind MidTaprFade.com, covering men’s haircut trends, fade techniques, and grooming guides with a focus on accurate, research-backed content. She combines SEO expertise with a genuine interest in barbering trends, aiming to give readers practical, barber-ready advice instead of generic fluff.
Conclusion
A mid taper fade buzz cut earns its place as one of the easiest, lowest-maintenance styles around — sharp enough for a barbershop finish, simple enough to manage yourself between visits. The right guard combination and a decent set of clippers are really all it takes.
From a classic guard-2 buzz to a sharper high-and-tight, this guide covered five ways to wear it — plus the tools, technique, and cost breakdown to help you decide between DIY and a professional visit.
Save this guide before your next trim. Drop a comment if you try cutting it yourself — we’d love to hear how it went.